Crop Residues, their Types, Management and Uses
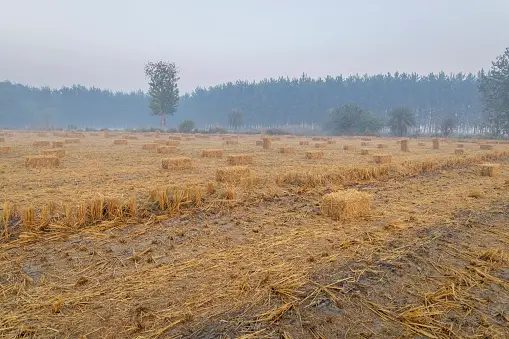
Crop residues are the waste materials left over after a crop harvest in the form of leaves, stalks, stems, seeds, etc. The amount of crop …

Crop residues are the waste materials left over after a crop harvest in the form of leaves, stalks, stems, seeds, etc. The amount of crop …
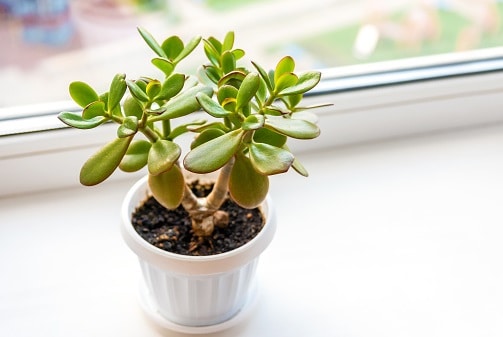
Indoor plants beautify your space, purify the air, relieve stress and give a peaceful aurawith their beautiful shape, size and color. If you love greens …
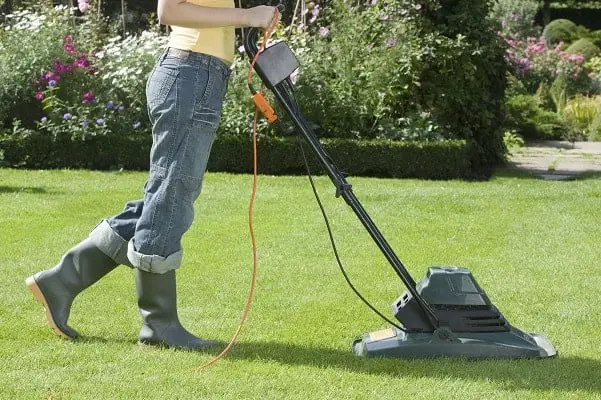
Who doesn’t love to have a lush green area around their home? A walk on the lawn relaxes your nerves and calms your soul. But …

Vermicomposting is one of the sustainable agriculture practices that follow the principles of organic farming. It is a natural organic fertilizer prepared using earthworms that …
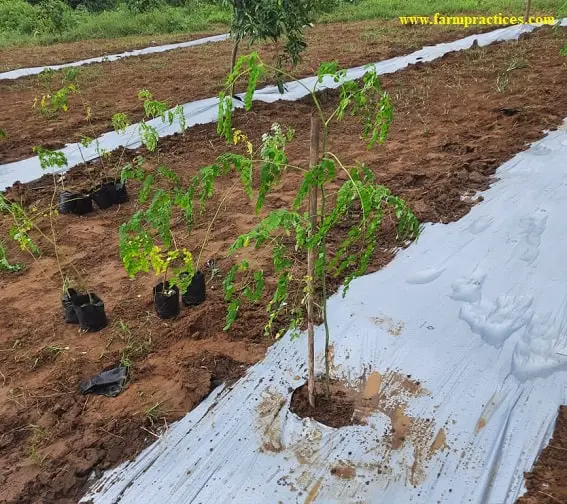
Mulching is a method of covering the soil around the growing the crop. This method prevents soil erosion, weed infestation and retains soil moisture by …
Biofertilizers are nutrient supplements for the plants. They possess various kinds of microbes that enhance soil fertility. Dr. Norman Borlaug introduced the green revolution to …